HAVE ANY QUESTIONS?
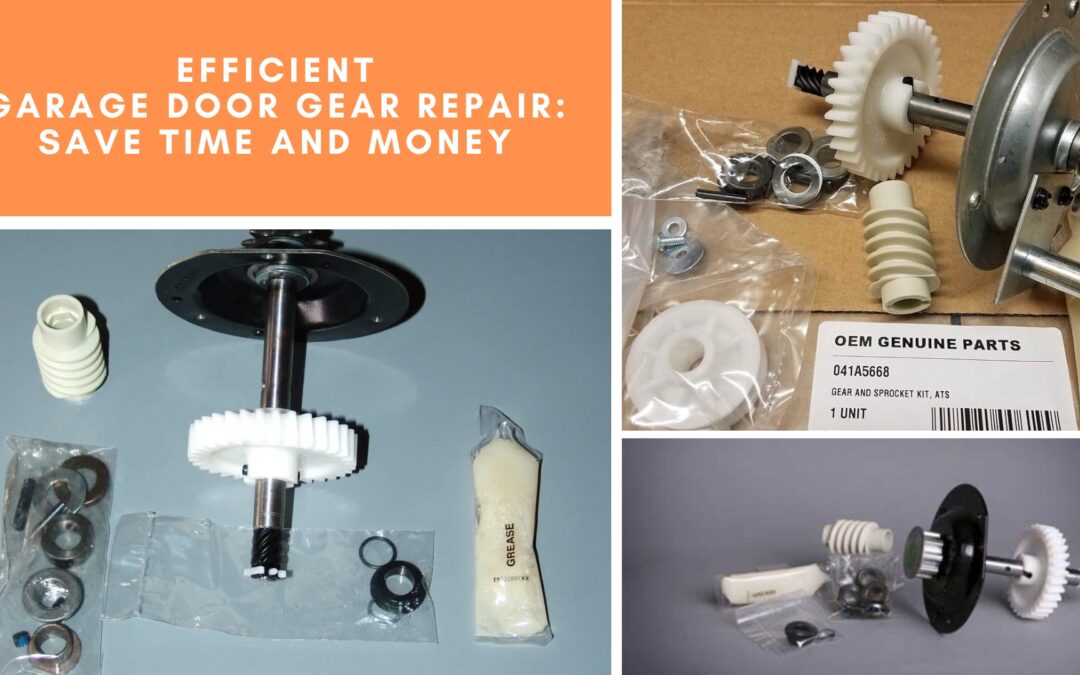
Have you ever been in a situation when your garage door suddenly would not open or close? A malfunctioning garage door can be more than just a minor inconvenience. It can also be very dangerous and get in the way of daily life. However, dealing with these problems does not have to be difficult or expensive. In this blog, we will talk about efficient garage door gear repair techniques. From learning about common gear problems to DIY repairs, we want to give you the skills and confidence to make these repairs quickly and inexpensive.
Garage Door Gears: What Are They?
Garage door gears are an important part of an automatic garage door system. They are inside the garage door opener, and their main function is to control how the door moves. Usually, these gears are made of metal or hard plastic and are under a lot of stress when they are in use. Garage door parts like the motor, springs, and cables all work together with the gears. When you press the opener’s switch, the motor turns on the gears, which move the door up or down.
Types of Garage Door Gears
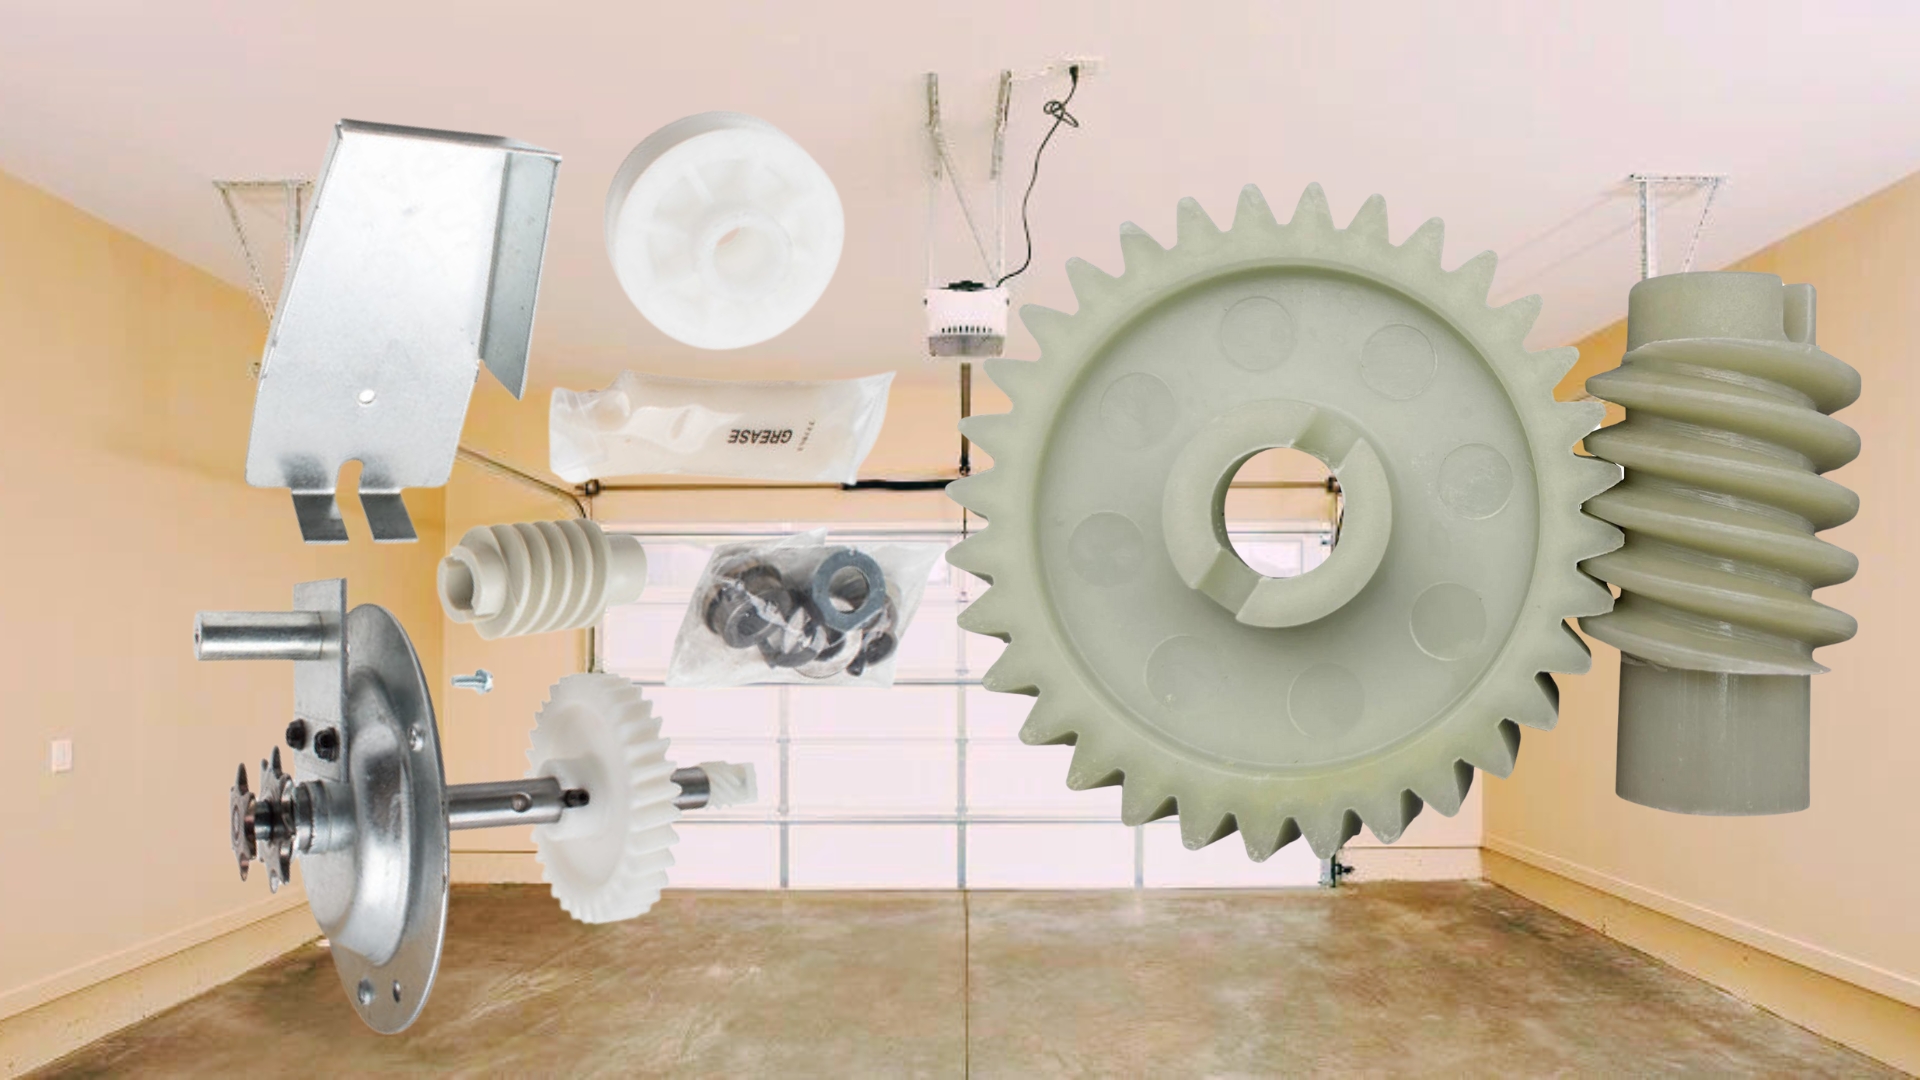
There are three types of gears found in garage door systems:
- Worm Gears: These gears are popular in heavy-duty garage door openers. They are known for being durable and having a high torque output.
- Helical Gears: These operate quietly and smoothly, which makes them perfect for residential garage doors.
- Spur Gears: They are typically used in less strenuous situations because they are simpler in form. However, they are known for being efficient and reliable.
Common Signs of Garage Door Gear Malfunction
Over time, garage door gears can break down, just like any other mechanical system. If you can spot the early signs of a broken gear, you can avoid having to make bigger repairs later on. Your garage door gears may need to be fixed if any of these things happen:
Unusual Noises
A clear sign of gear problems is a change in the sounds your garage door makes when operating. There is a good chance that the gears are having trouble if you hear grinding, scraping, or buzzing sounds. These sounds could be caused by gear teeth that are worn down or lack of lubrication.
Difficulty in Opening or Closing
The gears might be broken if your garage door stops moving in the middle of opening or shutting or it starts to resist. When gears wear down, they might not engage properly, leading to a loss of smooth operation. This resistance might be more noticeable during cold weather when lubrication is less effective.
When the Door Moves Unevenly or Jerkily
Watch for uneven or jerky movements of the door as it opens or closes. It can happen if the gears are not meshing correctly, causing the door to lose its smooth motion. You might notice that one side opens or closes faster than the other or that it moves in a jerky way.
Visible Wear and Tear
Regular inspections of your garage door mechanism can reveal physical signs of wear. The gears are worn out if you see metal shavings or debris or if they look like they are stripped.
Garage Door Motor Runs, but Door Does Not Move
In some cases, you may hear the garage door motor running, but the door itself does not move. The gears inside the motor unit may be so worn out that they can not turn the door’s chain or belt anymore.
Increased Energy Bills
If you notice an increase in your energy bills, the garage door motor may be working harder to lift the door due to malfunctioning gears. It requires more power.
Remote Control or Wall Switch Failures
Sometimes, the problem might not be with the garage door opener gears themselves but with the controls that operate them. If your remote control or wall switch is inconsistent in opening or closing the door, it could indirectly indicate gear issues.
Step-by-Step Guide for Efficient Garage Door Gear Repair
A planned approach to garage door gear troubles may save you time and money if you are confident in your DIY skills. Here is a step-by-step guide to help you through the process:
Preparation
- Gather necessary tools and materials: You need a set of wrenches, a screwdriver, a ladder, and a replacement gear kit. The kit includes gear and sprocket assembly, grease, and instructions.
- Safety first: To avoid accidents, close and disconnect the garage door before starting. Wear safety goggles and gloves for protection.
Disassembling
- Access the opener: Use the ladder to reach the garage door opener and remove the opener cover carefully to see the gears.
- Identify the faulty gear: Look for signs of wear or damage on the gears. The most common issue is a stripped gear, which will appear smooth and lack the usual teeth.

Removing the Old Gear
- Detach the gear: To take off the old gear, follow the directions in your gear kit. Usually, this is done by unscrewing bolts and taking the gear off of the belt or chain.
- Clean the area: Once the old gear is out, clean any debris or old grease from the area. It ensures that the new gear operates smoothly.
Installing the New Gear
- Install the new gear: Position the new gear as per the instructions. Make sure it aligns correctly with the chain or belt.
- Secure the gear: Reattach any bolts or fasteners to secure the new gear in place. Ensure everything is tight and properly aligned.
- Lubrication: To cut down on friction and wear, put the grease that came with your kit on the new gear and any other moving parts.
Reassembly and Testing
- Reassemble the opener: Carefully put the cover back on the garage door opener.
- Reconnect the power: Connect the garage door opener to the power source again once everything is put back together.
- Test the door: Operate the garage door a few times to ensure the new gear is functioning correctly. Watch to see if the door opens and closes easily, and listen for any strange sounds.
Final Checks
- Adjustments if needed: You might need to make a few adjustments to the door if it is not working the way it should. Check the garage door opener’s manual for troubleshooting tips.
- Cleanup: Once you are done, keep all your tools and properly throw away the old gear.
Remember, while DIY repairs can be cost-effective, they require a certain level of mechanical skill and understanding of garage door mechanisms. If you are not sure about something, it is best to talk to a garage door professional to avoid more damage or safety risks.
Garage Door Gear Repair by Titan Garage Doors NE
Are you facing issues with your garage door gear? Trust our experts at Titan Garage Doors NE! Your safety is our top priority, and we make sure that your garage door is always safe and secure. No matter how big or small your garage door needs are, our team can take care of them all. From garage door maintenance and repairs to replacing openers, we can handle it all. Give us a call today to schedule an appointment and get started.