HAVE ANY QUESTIONS?
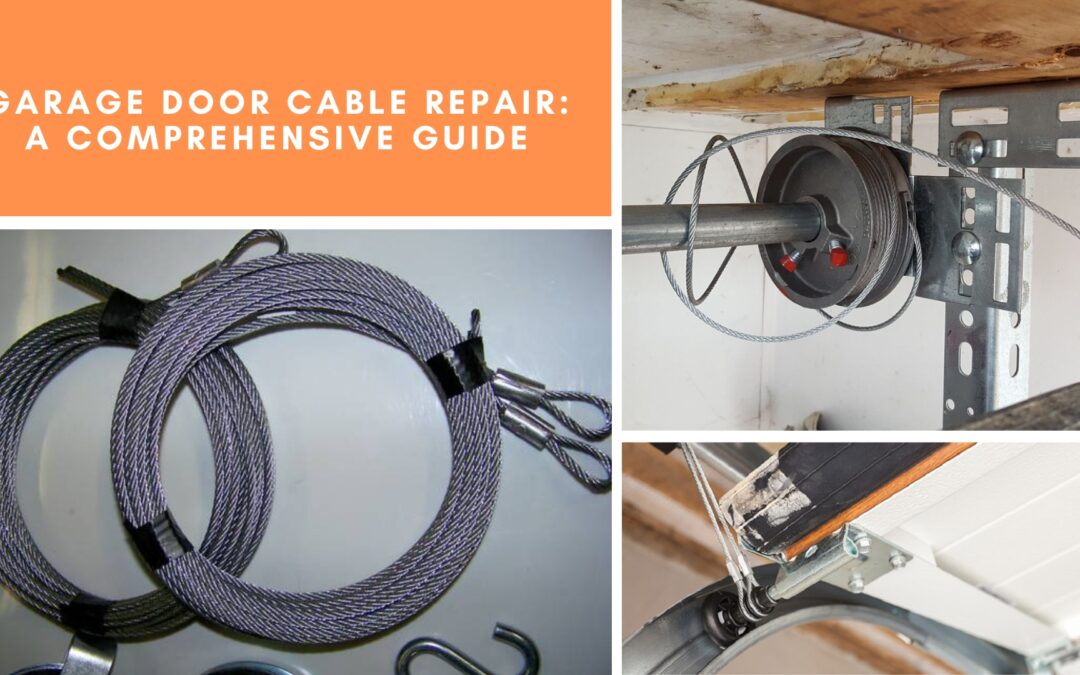
Imagine you are running late for work, and suddenly, your garage door seems to be stuck. We all know how frustrating it can be, but do not worry. We are here to help. With this complete guide, you will learn how to do garage door cable repair like a pro. We will cover everything you need to know, from why these cables are so important to a step-by-step repair process. So, let us get started and say goodbye to those pesky garage door issues for good.
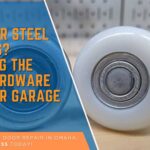
What Are Garage Door Cables?
Garage door cables are strong enough to lift the heaviest doors. They are very important to how the garage door moves. These cables are under a lot of stress and weight as they help move the door up and down.
Types of Garage Door Cables
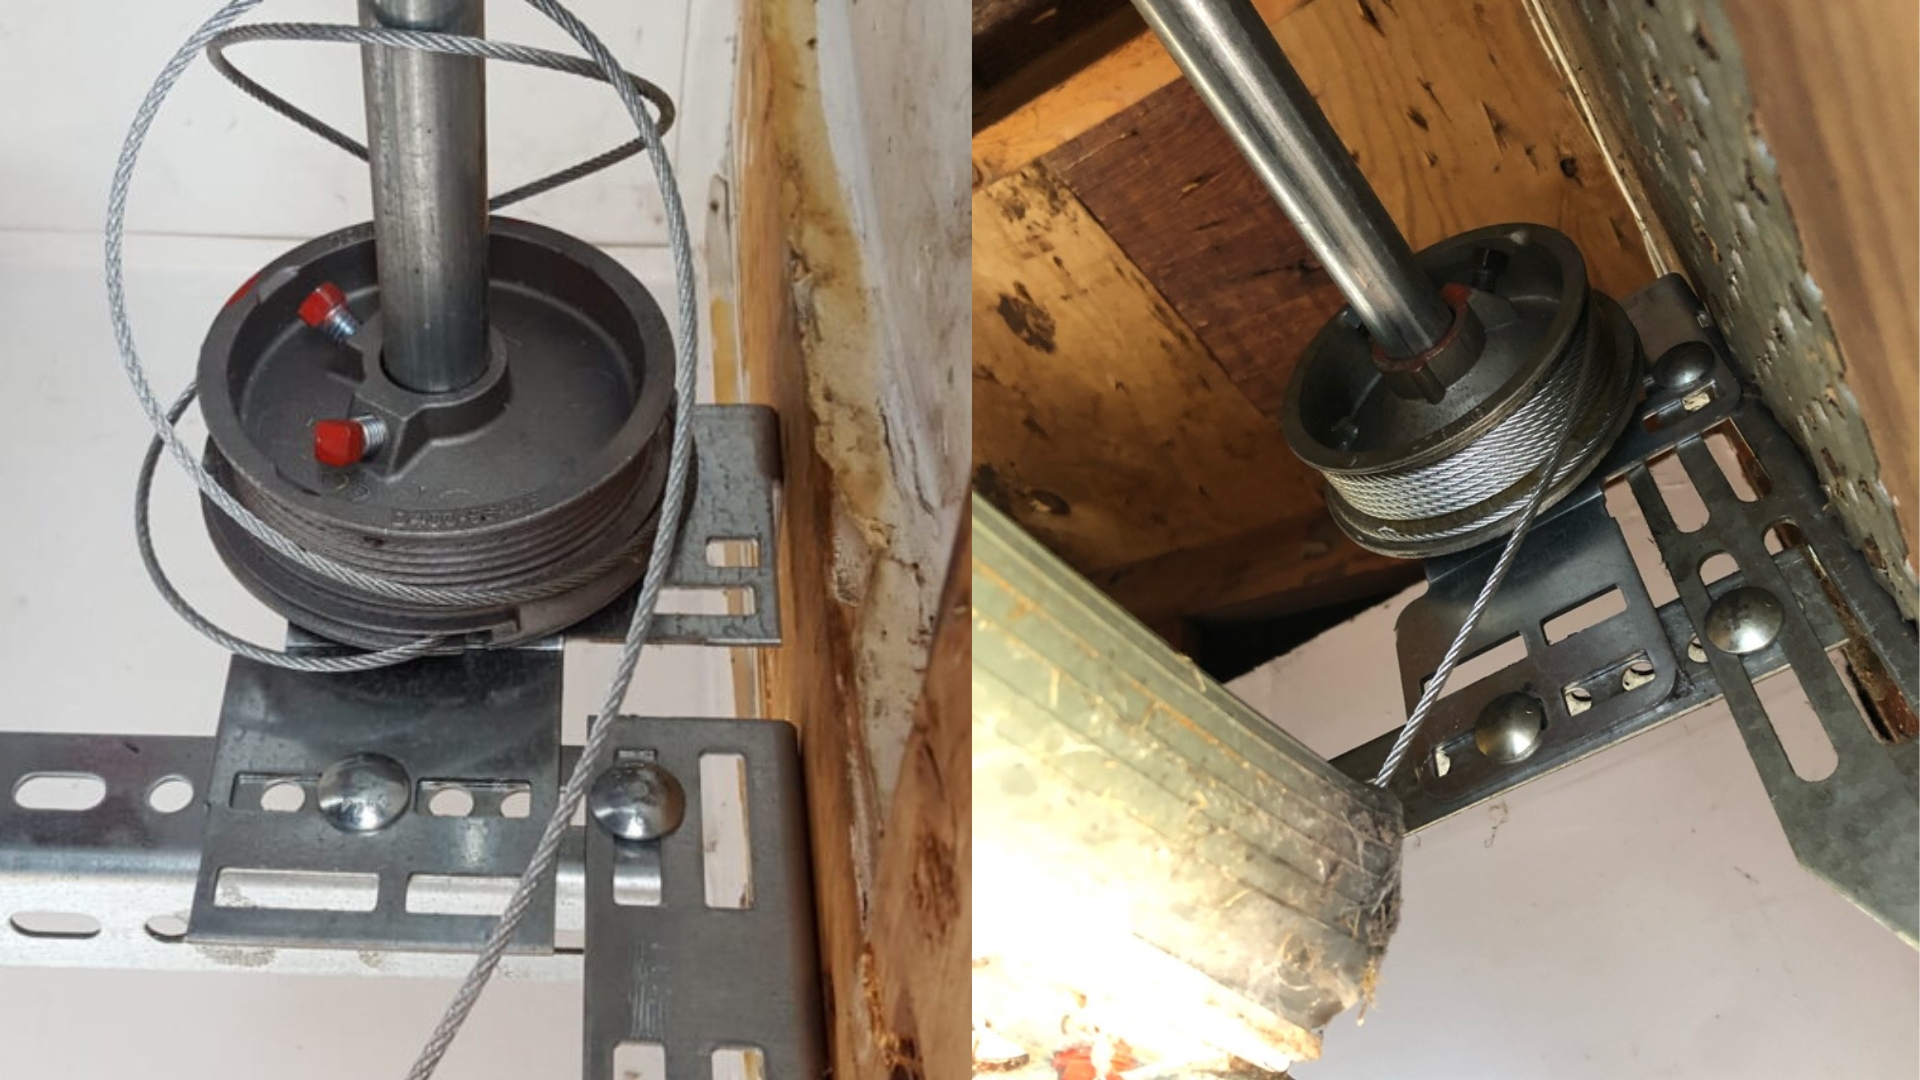
- Lifting Cables: These cables, found in torsion spring systems, wind around drums near the top of the door and lift them.
- Retaining Cables: These cables work well with extension spring systems. They run along horizontal tracks on both sides of the garage and connect to the bottom corners of the door. When the door opens, they help the stretched extension spring contract.
- Emergency Release Cables: In the event that the power goes out or the motor stops working, these cables on most garage doors let you open and close the door manually.
Common Signs of Garage Door Cable Problems
Over time, any part of the garage door can break. It is important to know the first signs of a cable problem to keep your garage door safe and effective. Here are the most common signs that you have a broken garage door cable:
Visible Wear and Tear
Check your garage door cables often for signs of fraying, rust, or corrosion. These are obvious signs that the cables have become weaker and could break sooner or later.
Loose Cables
You can tell that the cables are not functioning properly if they look loose or have come off their drum. The system may be expanding, unwinding, or having some other mechanical problem.
Broken Cable Strands
Look closely for broken strands in the cable. Even a few broken strands can make the cable much weaker and make it more likely to break.

Door Not Opening or Closing Properly
If your garage door is struggling to open or close, or if it stops midway, this could be due to a cable issue. Imbalanced tension or damage to the cables can hinder the door’s movement.
Uneven Door Movement
See if the garage door is hanging oddly or moves strangely. If the wear or damage is not even, it usually means that one cable is under more stress than the other.
Strange Noises
Pay attention to unusual noises, like grinding, squeaking, or snapping sounds. It could mean that there is a problem with the cables or other connected parts.
Difficulty in Manual Operation
Try to disengage the automatic opener. If you can not open the door by hand, it might be because the cables are not supporting the weight of the door properly.
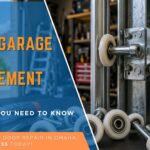
Step-By-Step Garage Door Cable Repair Guide
Safety First: Things to Do and Avoid
It is important to do the following first to make sure the garage door cable repair process is safe:
- Disconnect the power source: Always turn the power off the garage door opener before starting a repair. This step will keep it from operating by mistake.
- Get the tools and materials you need: Get the tools you will need ready, including safety glasses, a ladder, wrenches, clamps, and replacement cables. Keeping everything close at hand lowers the chance of accidents.
- Secure the door in place: To keep the garage door in place, put clamps or locking pliers on the tracks. It will prevent the door from moving or falling all of a sudden.
- Wear the right safety gear: Protect your eyes and hands from sharp parts and the tension in the springs and cables by always wearing gloves and safety goggles.
Assessing the Damage
Before you start to fix the garage door cables, you should find out how bad the damage is. Here is what you should do:
- Visual inspection: Check to see if the cables are really worn, frayed, or broken. Look for rust or corrosion as well, as these can make the cables weak.
- Check cable tension: The cables must be tight and properly strained. One cable being weaker than the other is a sign of a problem that needs to be fixed.
- Check pulleys and drums: Inspect the drums and pulleys for damage or wear that could affect the cable performance.
- Figure out the scope of the repair: After you have done the inspection, decide if you can repair it.
- Prepare the workspace: Remove any objects or other stuff stored in the garage to create a spacious working area. Clean the space to remove dust, debris, or any other materials that might hinder the repair process.
You should get help from a professional if the damage is severe or if you are not sure how to fix anything.
Releasing the Garage Door System’s Tension
It is necessary to release the tension in the garage door system to prevent any sudden and dangerous movements. Usually, you can do this by opening the garage door manually. Then, use pliers to clamp onto the tracks, holding the door in place. It will help control the tension.
Removing Old Garage Door Cables
After releasing the tension, find the cable drum at the top of the door. With a wrench, loosen the set screws on the drum so that the cable can come loose. Slowly unwind the cable from the drum and then take it off of the garage door’s bottom bracket.
Installing the New Cables
- Choose the right cable: Make sure that the new cable is the right type and length for your garage door. If you use the wrong cable, it might not work properly or can even be dangerous.
- Attach the cable to the bottom bracket: First, connect one end of the new cable to the bottom bracket of the garage door. Most of the time, this bracket is at the bottom corner of the door.
- Wind the cable on the drum: Wrap the cable around the drum slowly and see if it forms a smooth, even coil with no twists or gaps.
- Secure the cable: After winding the cables, tighten the set screws on the drum to hold the cable in place. Although the cable should be taut, it should not be too tight, as that can put extra stress on the door system.
- Adjust the tension: Once both cables are in place, the tension may need to be adjusted to make sure the door opens and closes evenly and smoothly. Wind the torsion spring with winding bars carefully and accurately.
- Final checks: Check if the cables are in the straight position and there is no extra space between them. On both sides of the door, the cables should be the same length and wrapped correctly.
While you can do some garage door repairs as a DIY project, working with high-tension parts like springs and cables can be dangerous. Ask help from a garage door specialist if you are not sure you can do these steps safely. Incorrectly handling your garage door system can hurt you or cause more damage to it because they are under a lot of tension.
Garage Door Cable Near Me
Are you dealing with a broken garage door cable? It is tempting to try fixing it yourself, but wait! If you try to fix your garage door cables without proper knowledge, it could damage them more. At Titan Garage Doors NE, our licensed team is ready to fix a wide range of garage door problems. Whether it is a garage door cable replacement, repair, or maintenance, we have got you covered. Get a free quote from us by calling us at (402) 513-0255 today and find out how we can help you!