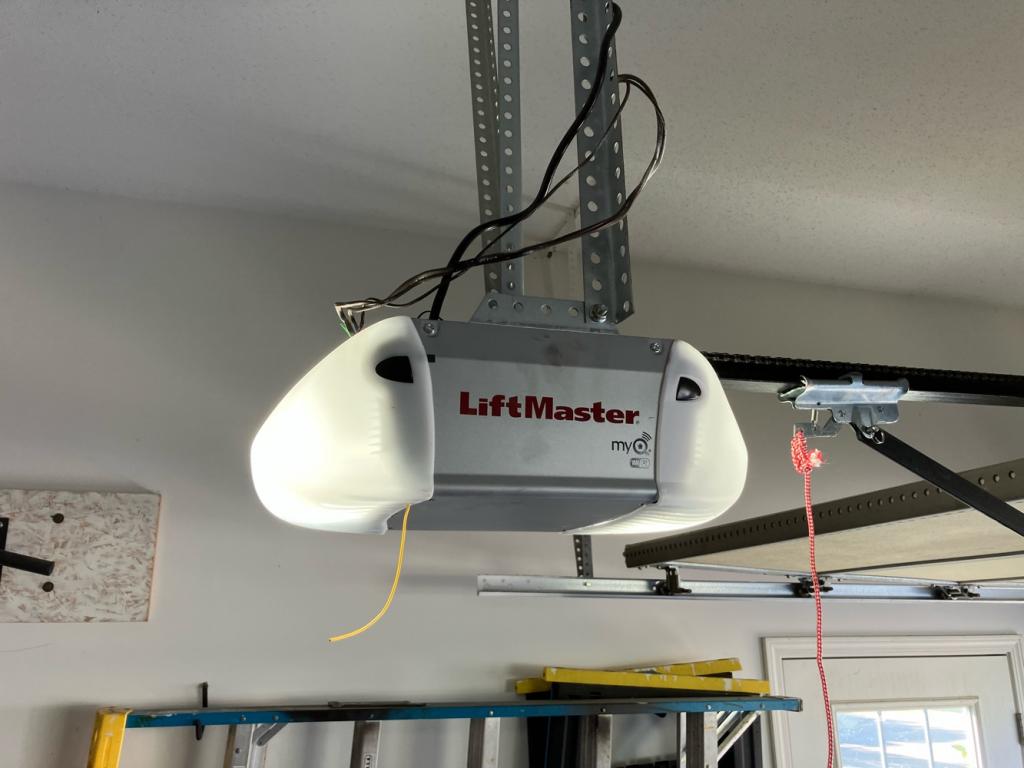
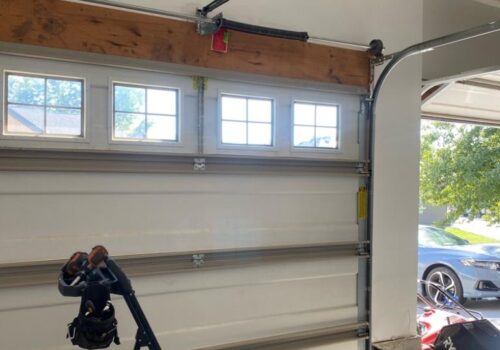
Titan Garage Doors NE got a call from a client in Ralston, NE. They had issues with their garage door opener and could not access the garage. They also reported that the opener made a grinding noise in the past few days, and then the door stopped moving altogether. Our technicians diagnosed the issue as being the toasted main drive gear. We also spotted a broken gear sprocket assembly. That was not an easy fix because several components needed to be removed before getting at the gear. Still, our team of highly qualified technicians was more than prepared for the job. Within under an hour, we could install the new gear sprocket assembly. Finishing this project just in time, we served another happy client at the end of the day.
Over time, the gears in your garage door opener will wear out. One way to tell that the gears need replacing is when you hear the motor running but the door is not opening. It is always best to replace gears before they suffer further damage.
Why Do You Need to Replace the Garage Door Opener Gear?
Replacing the gears on your opener is important for several reasons. The first reason is that, over time, the gears will become damaged from wear and tear. Furthermore, replacing the gears ASAP can help prevent further damage to your garage door opener.
When dealing with broken gear, it is always best to contact a professional for help. However, if you are a skilled DIYer confident that you can take on the task yourself, here is how to do it.
Guide on Replacing a Gear in a Garage Door Opener
Get Your Tools Ready
Gathering all your equipment for changing the gear, including the following:
• An Allen wrench
• A screwdriver
• Nut drivers
• A hammer
• A punch
Prepare all your tools so you would not have to move back and forth while doing the task. To speed up the procedure, keep each tool arranged properly.
Turn off the Power Supply
You should turn off the power source for the garage door opener. First, cut the electricity and let go of the emergency rope. Then, close the garage door manually and detach the cover for the garage door opener.
Loosen the Circuit Board to Make Room
Depending on the type of opener you own, you might need to unscrew the circuit board first. That will provide extra space when changing a garage door opener's gear. You have to loosen a few screws on the circuit board to do this.
Release the Tension on the Gears
It is important to keep the tension on the chain low to avoid damage to the garage door opener. Use a wrench to loosen the chain and another to hold it in place. Once you have loosened the chain, do not remove the wrench until you are finished changing the garage door gear.
Remove the Gears
Unscrew the bolts holding the sprocket and gear in place. Then, with the sprocket assembly out, remove the helical gear from the shaft. Next, use a punch and hammer to take out the pin that keeps the gear positioned. Should this be difficult, put some grease on the pin and leave it for a few minutes. Next, loosen the worm gear by loosening the screws on the collar. Now you can remove the gears, washers, and remaining screws.
Change the Opener Gears
Remove the motor assembly from the garage door opener. Then, place the new worm gears on the shaft. Next, return the motor assembly to its original position. Then place the new helical gears (remember to lubricate them) and make sure they are positioned correctly. Finally, tighten the chain.
Have a broken garage door opener gear? Titan Garage Doors NE experts are skilled in garage door opener gear replacement. We service any brand and make of garage door openers, including LiftMaster and Craftsman.
At Titan Garage Doors NE, you are in the greatest hands possible, so be at ease. Our services are available in Omaha and Lincoln, NE, as well as Council Bluffs, IA, and the surrounding communities. So give us a call, and we will assist you.


Comments: